
I had seen some cool stuff originating from XS 650 that I thought it could do a nice little chopper. So I went on the market looking for one, and strangely enough I found one (well I thought I did) about 2 hours drive away from my house. The bike belong to some vintage motorcycle club and when I explain to the guy that I wanted it to convert it into a chopper, it kept saying : are you sure you know what a XS 500 is ? I didn't but at that time, but thought it was the same as a 650 with a smaller engine. Boys I was wrong !!!
So couple weeks later, I drove to pick up the bike and quickly realised I had totally miss the mark. Don't get me wrong you can do lots of things with a bike, but it just didn't have the money to spend it on an XS 500

So, I brought the bike home, tried to start it, failed, and parked it in my garden and left it there. I thought I would use it later on to dismantle it, see what the inside of an engine looked like, and then try to rebuilt it. It was gonna be a long term, undefined project.
Then one morning as I was drinking my coffe in my favorite bar looking at the sea, I saw a guy parked his triumph cafe racer and the thought of turning the XS 500 peacefully sleeping in my garage came to life.
I surf the net to get some ideas about what had been done before, and there I went, with the objective of spending as few dollars as possible considering this was not gonna be a lifelong friend but just a stepping stone to another, bigger project...


To widen the seat, after I had cut it in 2, I use a rigid cardboard which I taped under both side of the seat to maintain the same width and thickness throughout the seat and I applied 1/8 inch of resin to solidified the thing.


Then it was time to build the seat itself. I took a steel sheet of 5mm and cut it in line with the seat I had just made. I cut the foam for the original seat and glued it together. With a cutter and smooth everything out and took the cover of the original seat to cover it up.


Then it was time to look at the tank. It had to also be widen and stretched. Something like that

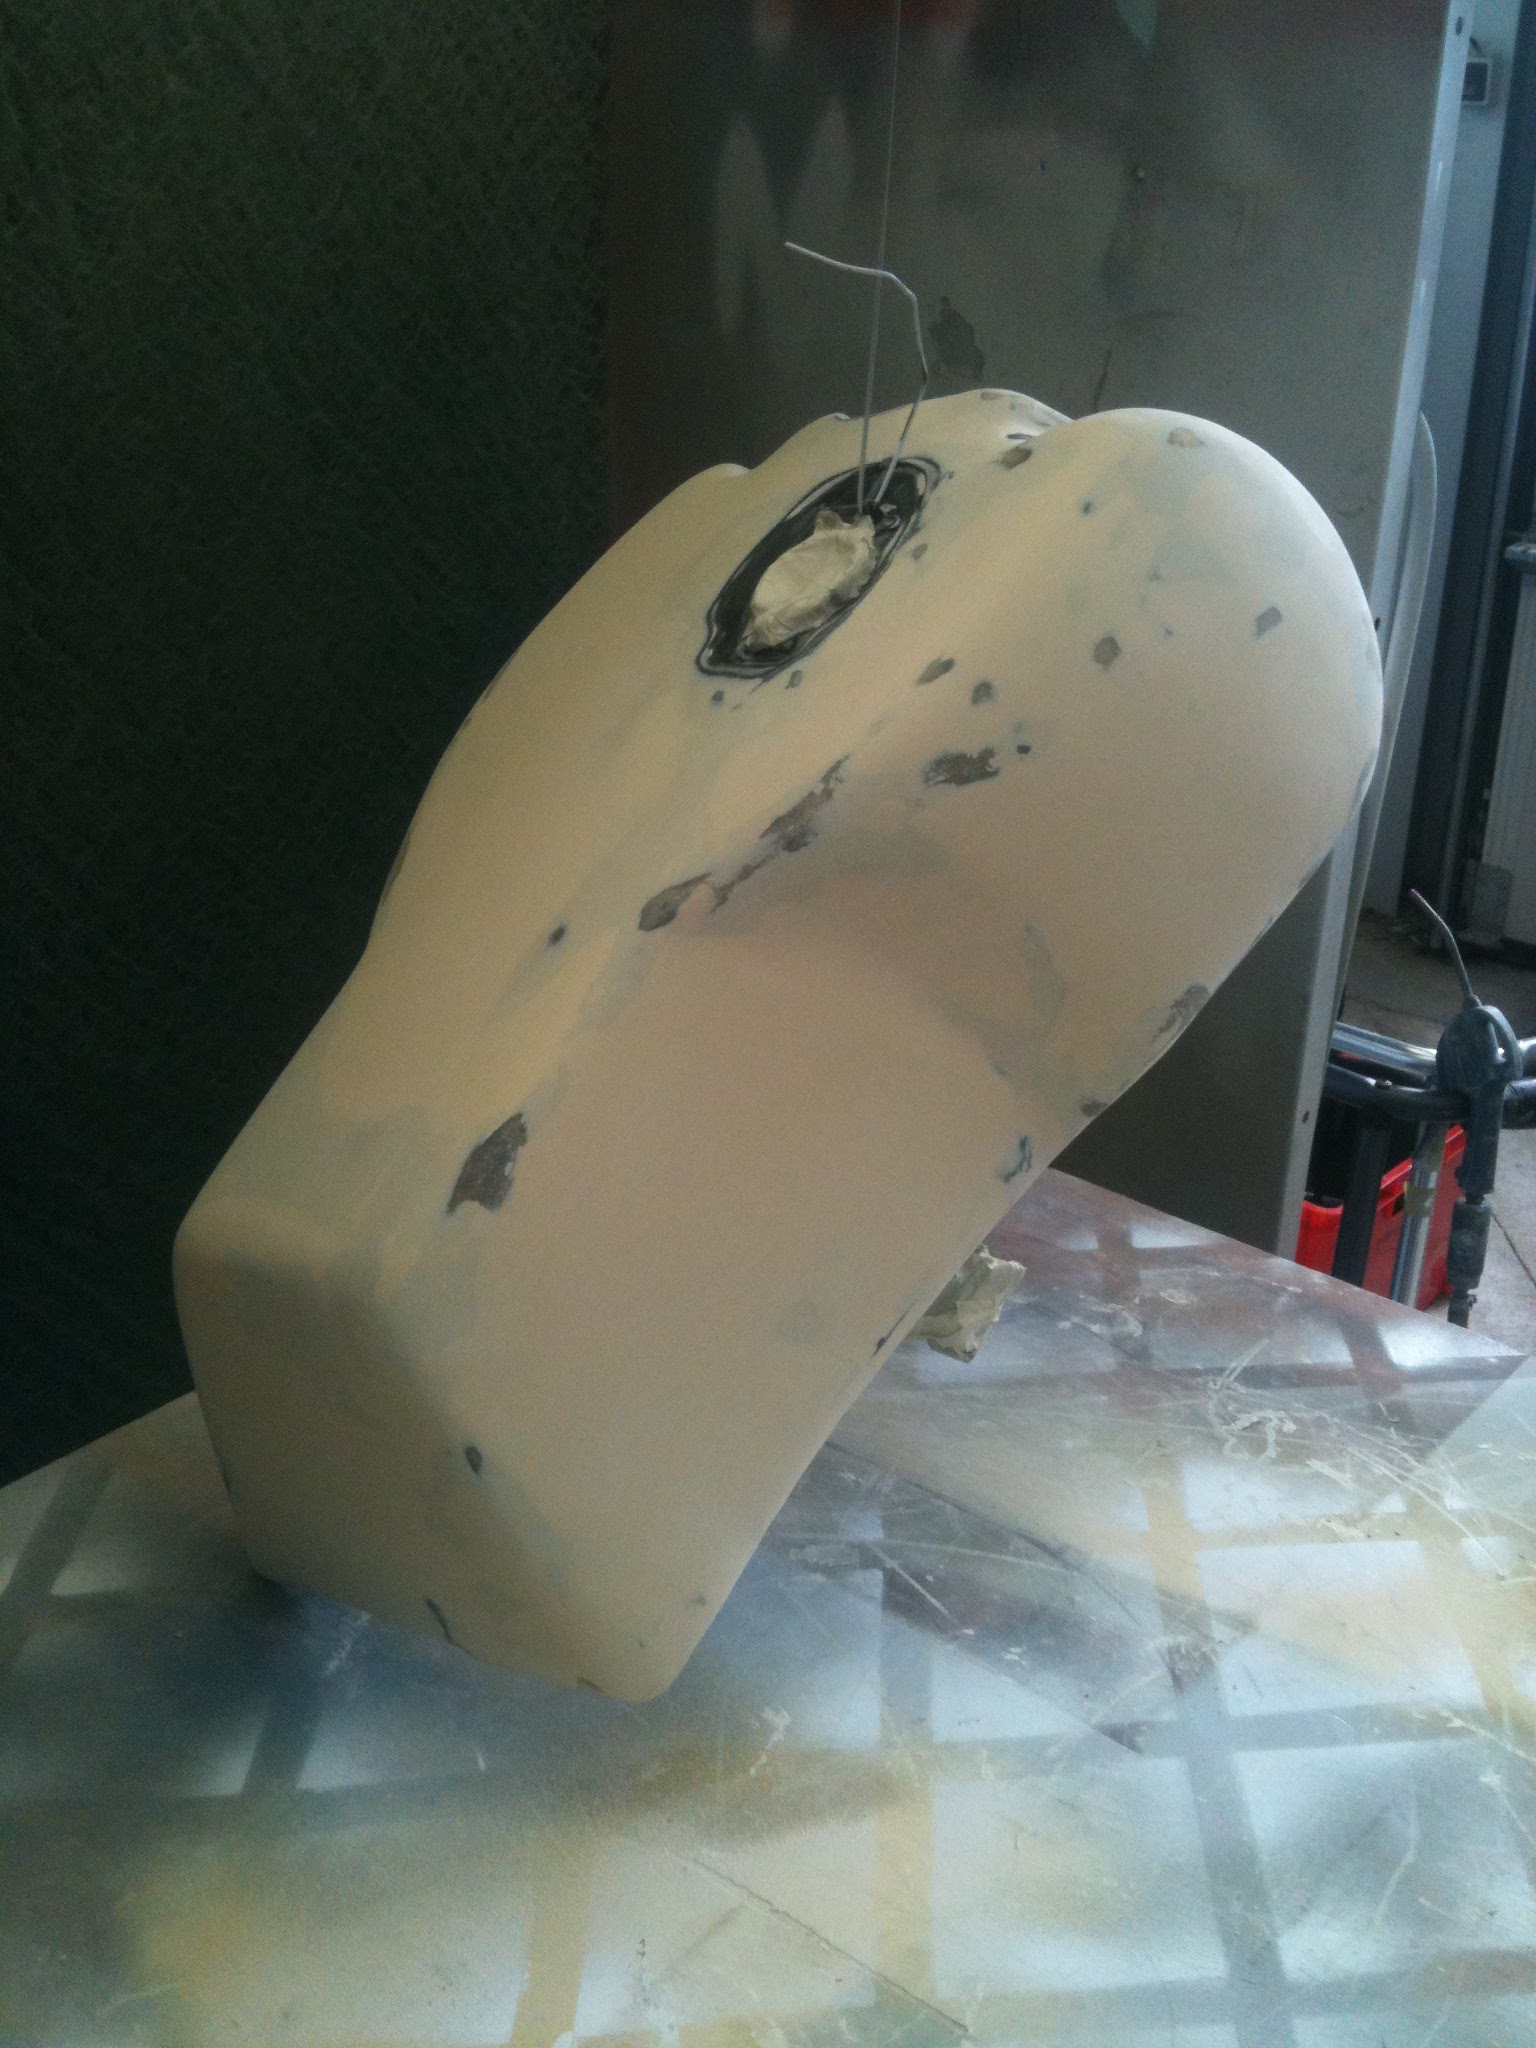
But I wasn't good enough in steel work to build it myself so I decided to modify the one I had. The idea was to cover the tank with solid foam and shaped it accordingly with a cutter.

then after few trial and error and when I was satisfied with the results I could apply the same methodology to proceed.

So I did apply the same method. I covered the tank with body filler and used many hours sanding the bloody thing to make it nice and smooth.


And of course after the primer, it's back to sanding with 800 paper. The hardest part of this process and to get rid of the orange skin as its called.

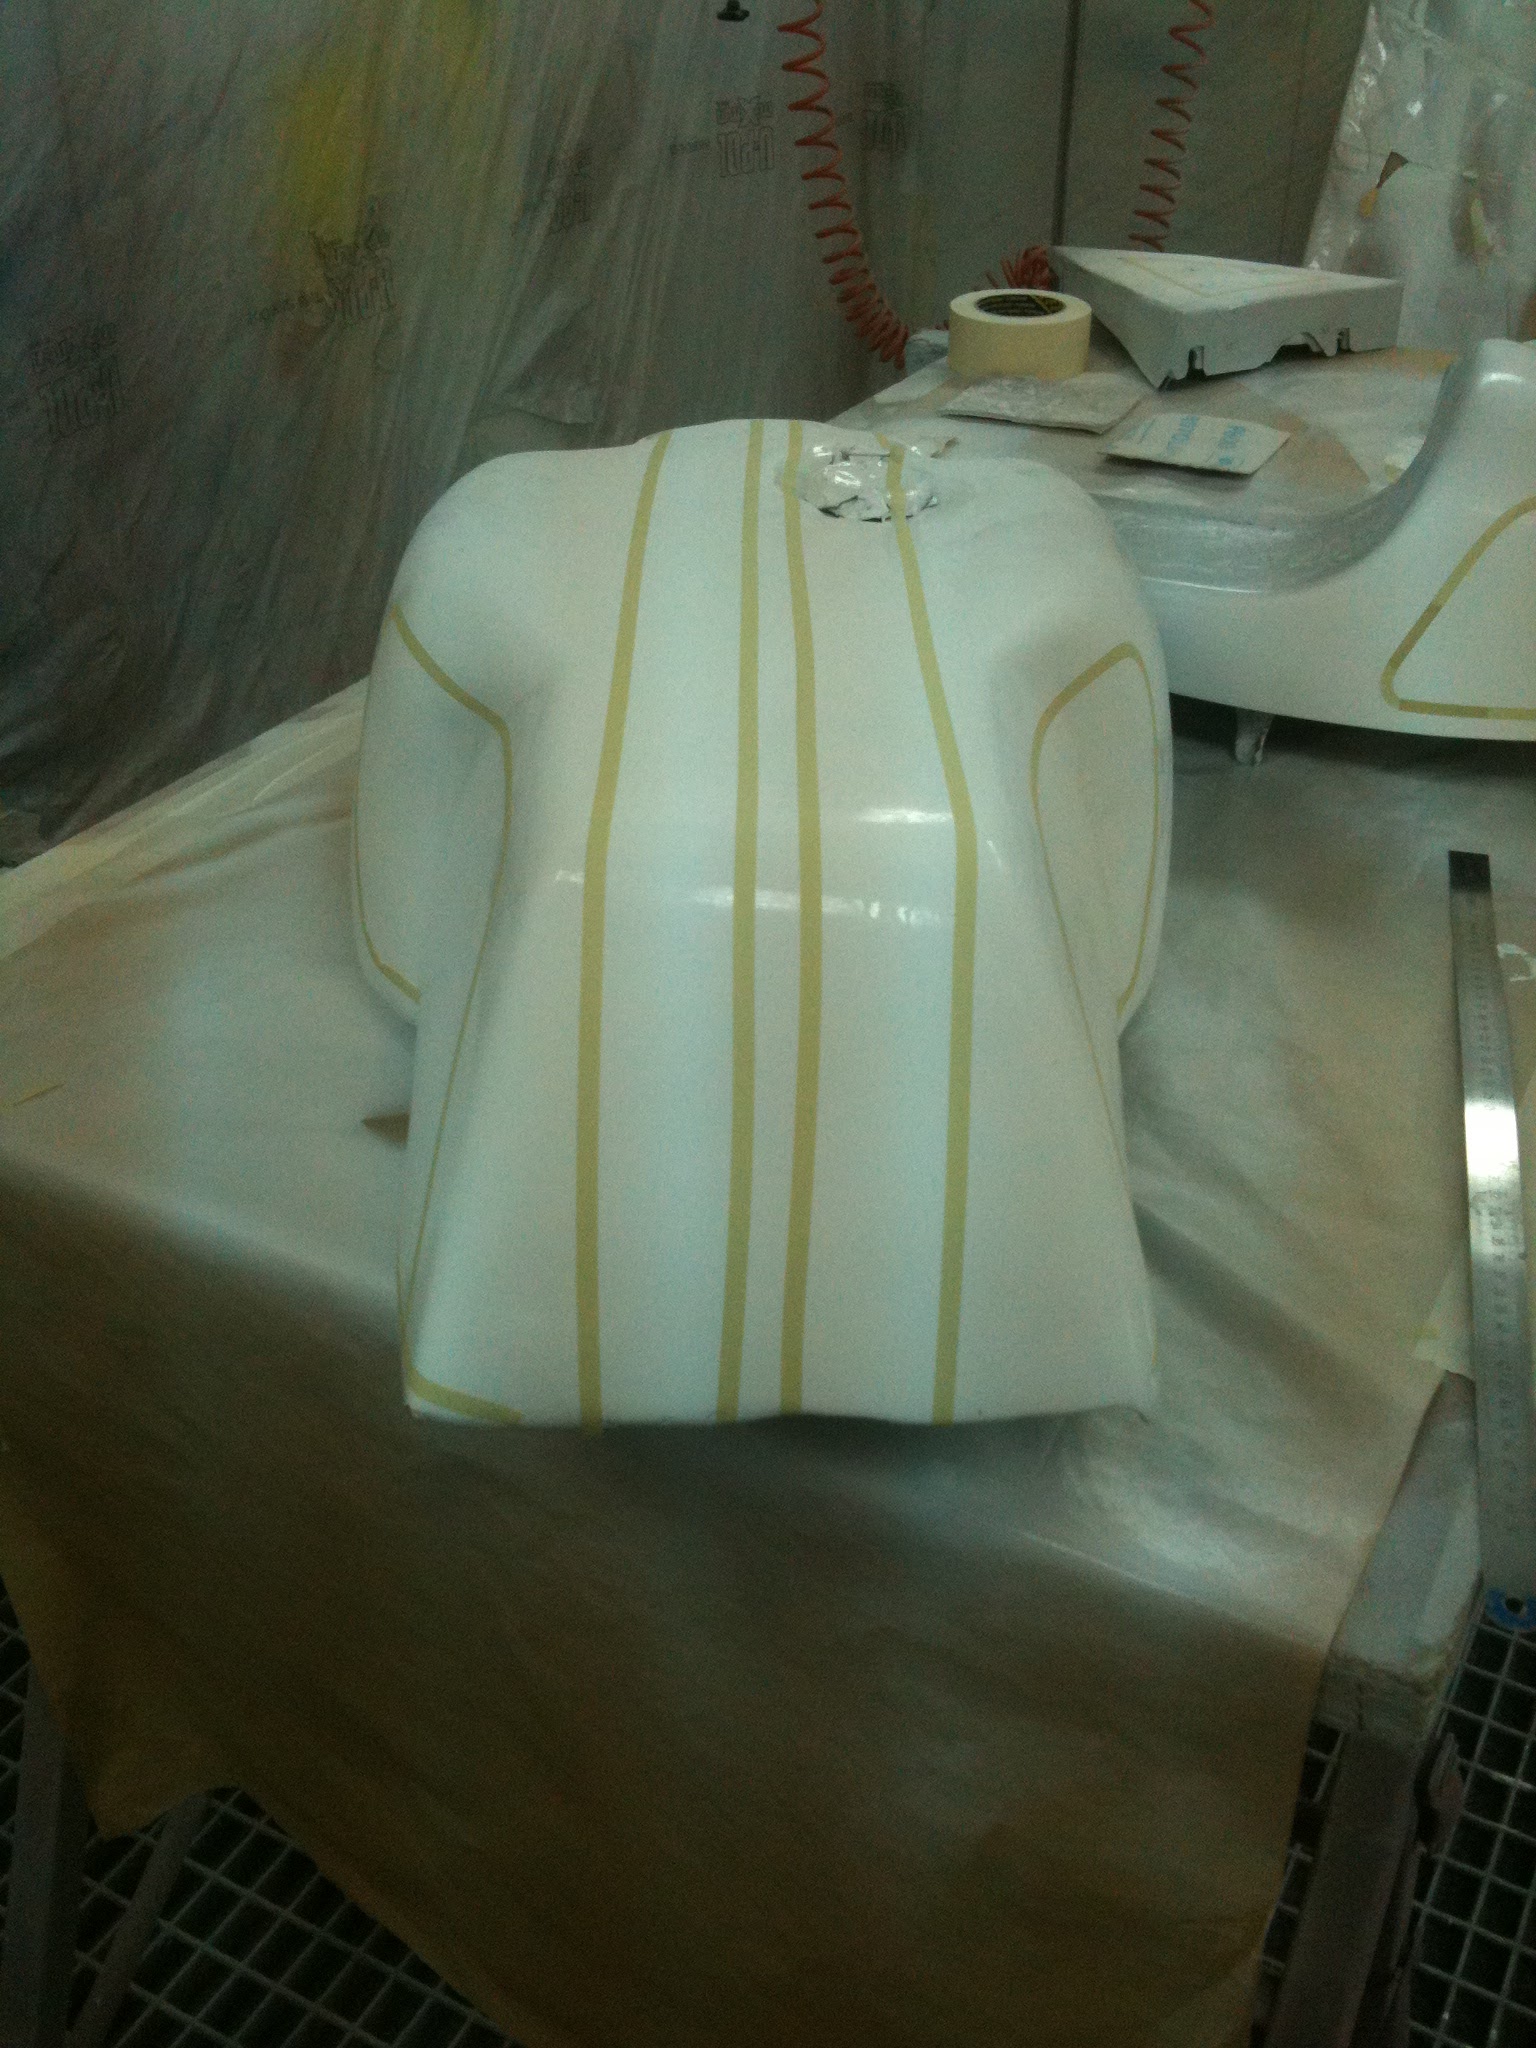


Then I cover the white stripe and painted the rest in black

While the tank, the seat, and the side cover were drying, I looked at the frame and engin. First, I cut the back of the frame as I had no use for it anymore. Then I got rid of the central stand, the air filter, the handle bar, the side cover, the fenders and numerous useless things.

I also took the foot control and exhaust. I gotta tell you this was a nightmare. Not so much the exhaust which I shorten by approx one foot, but with the foot control. First I had to drill thru the frame to fix the control, then I had to find a way to mount the link. But once done, I could not brake nor shift as the control pedal hit the muffler. So I put a modified linkage to use the rear break. Also decided to fresh up the engine look by sending it and stencyl paint the cylinder with bbq paint. Then it was time to put everything back together


I service the bike, change the plugs, clean and tune the carb, change the disc brake. I spray some "start pilot" onto the new air filter I installed, and after approx 20 kick ( the electric starter is out of order) she started. I drove ard the bloc and since she starts on first kick. I still had a lot of plans for the bike but I needed some cash so I sold it before finishing it. The young chaps that bought it, drove it 3,5 hours straight at full speed to his house and broke cylinder head when he arrived. Had told him to treat it like an old lady but he abused her like a Yamaha R1.


No comments:
Post a Comment