

I purchased this flattwin to build a scrambler well before it became in fashion. The aim was as for most the bike I modified to do it on little budget and trying to keep as many stock piece as possible thru modification. This bike was originally military bike put street legal by previous owner. Not very much like by the general public for her look but the engine is probably one of the most reputable engine ever build.

So I started with dismantling the body and trying out two identical East European tyres both mounted on 120.

Not bad, then I started with building the side number plate.


Next step was the handle bar and headlight protection. I put a motocross bar, and I mounted a grill protection on the original headlight. It did require a bit of ingenuity but it worked.


After that I worked on the back fender.


I was not really satisfied so I extended it a bit.

Then I build the exhaust pipes.


For the front fender I cut it from an old XS 500 that was lying around my garage.

Then I started working on the rim, which I grind, primed and then painted in black.


So after cleaning the engine with some special product that make the engine looked like it had been grinded. I started welding the exhaust all together. Then the usual bad welding hide...


I took out the indicator from the headlight (I will fix them on the handle bar) I move the headlight inward and install the ignition key on the side.

After that I fabricated a piece to hide the hole made by the air filter, and made sure to leave a hole for the breather.


Considering I was happy with the light blue, I surfed the net to find the color coding. The one from Porsche (Gulf) was the best one, so I went to my favorite shop to have it made.


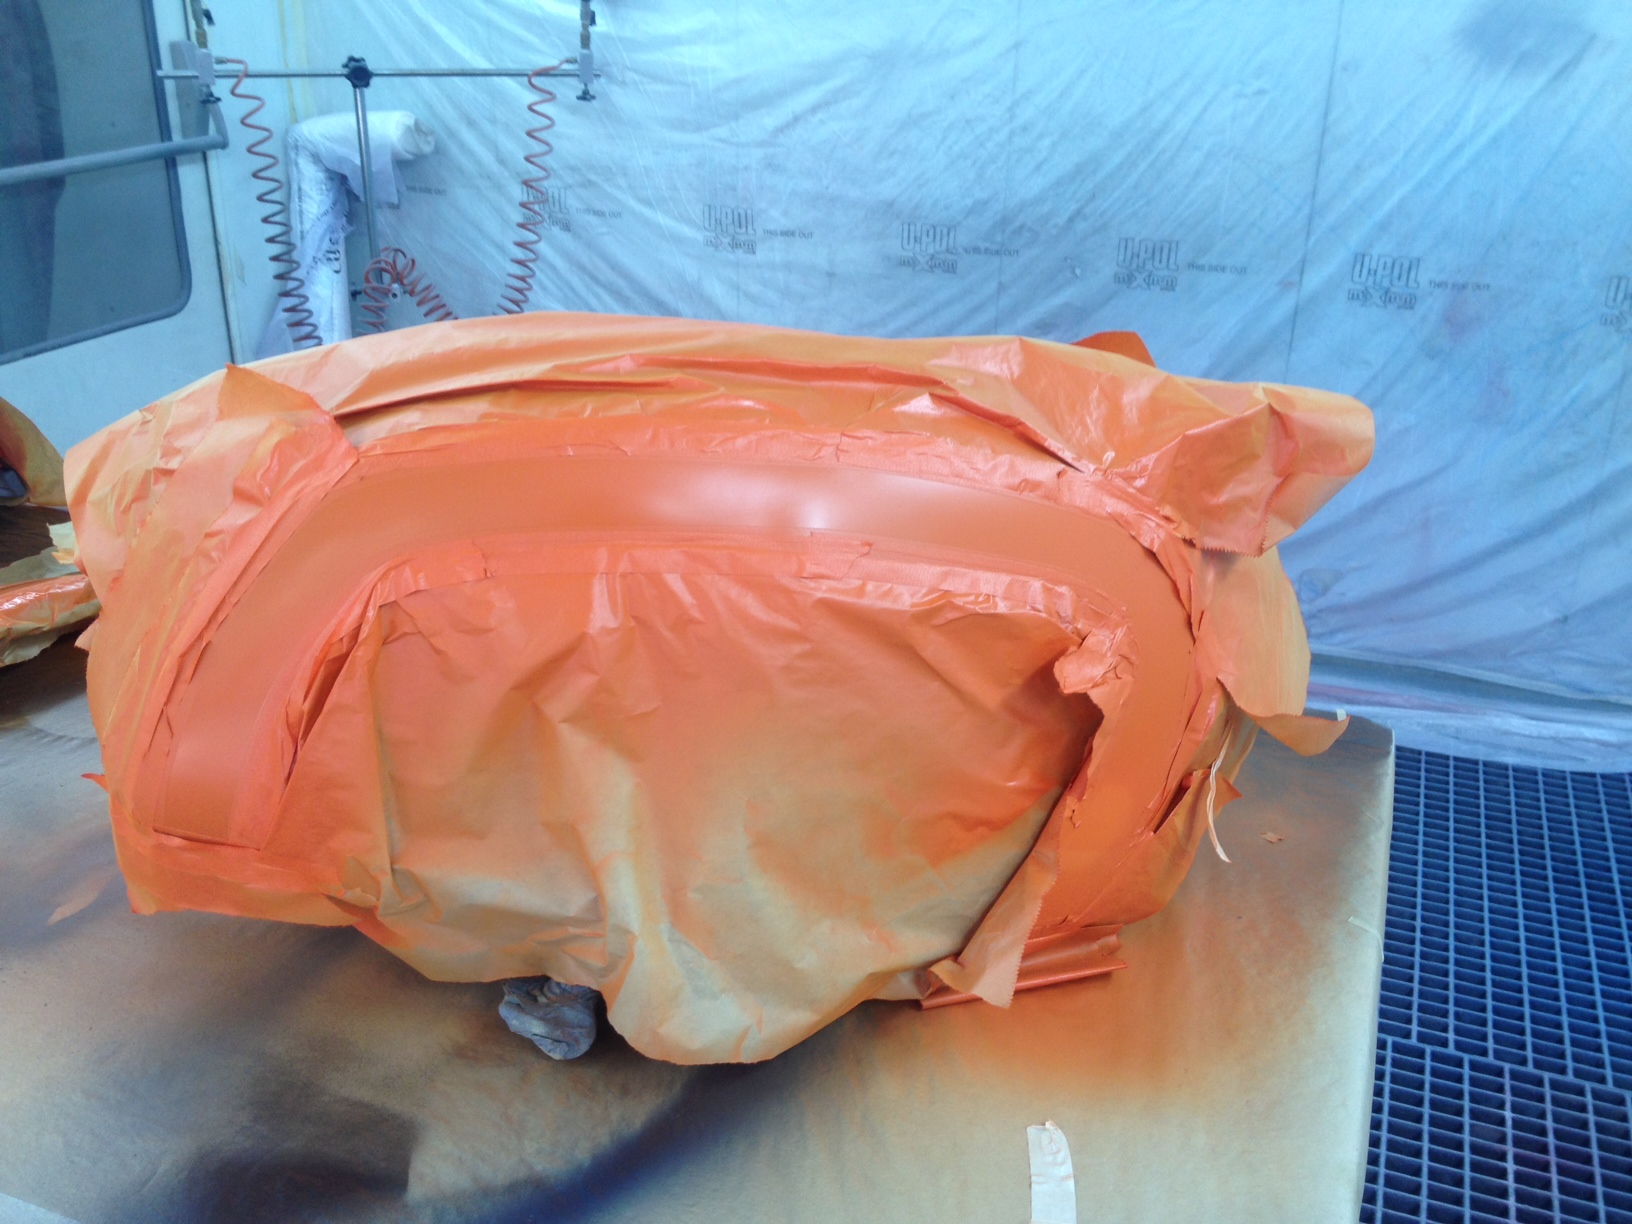
Then I had access to a painting cabin for 2 days so no mistake allowed. I started with the dark blue.

.

then the orange.


And finally the final touch by changing the cylinder heads for a look more vintage

.
No comments:
Post a Comment